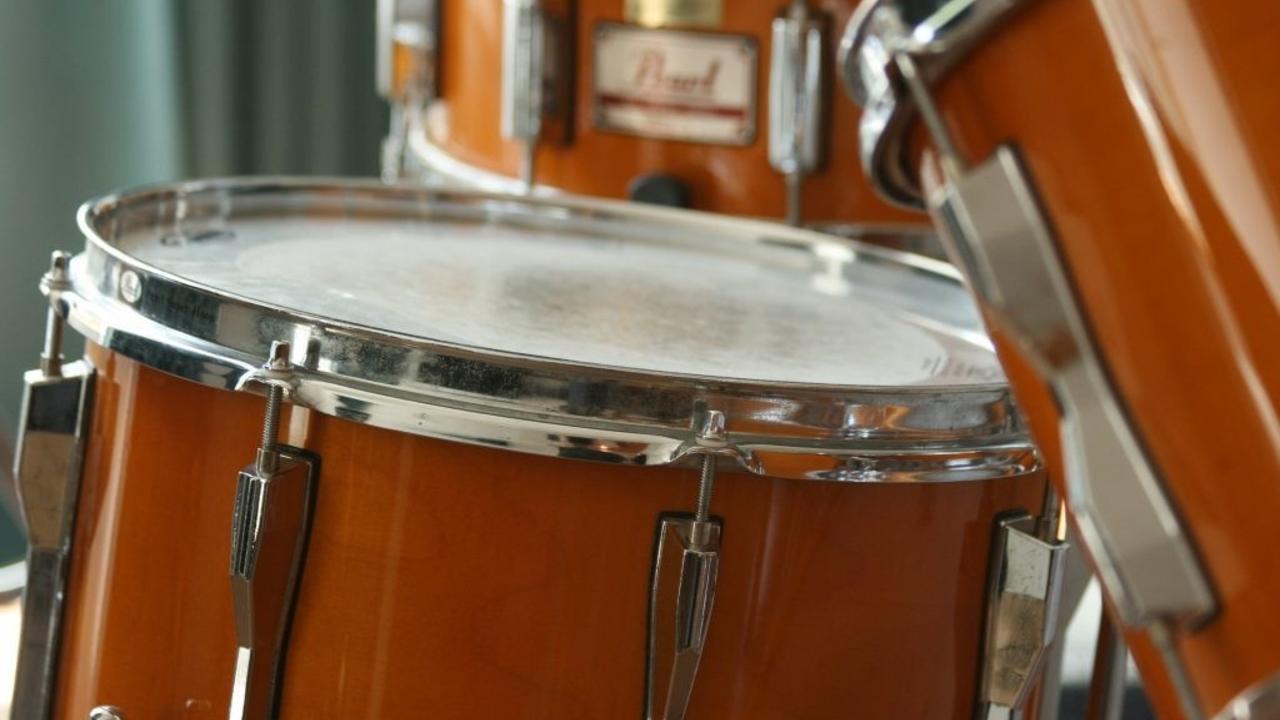
4 Step Guide to Mixing Toms

4 Step Guide to a Great Tom Sound
This 4 step guide to mixing Toms was made to make your life easier.
When I first started mixing, getting a great sounding tom was hard to achieve. I found my self replacing the tom microphones with samples all the time. This of course did not sound realistic....
It took me years to figure out how to properly EQ, compress, and mix the tom microphones in my songs. If you are in the same boat I was in, this guide should be right for you.
Step 1 - EQ

The most important part of mixing tom microphones is EQ. There is a lot of work that can be done during this stage to get your toms sounding 10 times better.
Cut Out the Mud
There are some really bad sounding frequencies that can build up on your tom microphones. The first thing you want to do is give these areas a cut.
Usually around 300hz you can hear a lot of mud that can make your toms sound dull and cheap. This area can be cut with a wide Q to bring some life back into your toms.
Around 700hz we can often hear the infamous "cardboard" sound. This area can often be cut to bring some more clarity to your tom sound.
Boost the Good Stuff
A 6k shelf boost will bring more attack and brightness to a tom. You do not need to be gentle here. Don't be afraid to boost a lot. Depending on the genre of music we can get away with a major increase in volume on the high end of a tom. Metal and rock music tend to give a large boost to this area while other styles tend to leave it more natural.
Low end is important as well for a great tom sound. For floor toms I tend to boost around 80hz and for rack toms I recommend boosting anywhere from 100-120hz.
Step 2 - Compression

Compression on toms is used so we add more punch to this instrument.
Be sure to compress with a slow attack and a fast release to get the most out of your tom microphones. This will add attack as well as even out of the volume of your toms.
Step 3 - Cutting The Track When It Is Not Needed

Our tom microphones always have a lot of bleed from cymbals and other parts of the drum kit. I recommend clipping the track whenever the tom is not being played. This will get rid of any useless information in the tom tracks.
Step 4 - Automated EQ

Because we are clipping the tracks where ever the toms are not being played, we are going to run into issues with cymbal bleed when the these regions do come about.
To get rid of cymbal bleed I recommend automating a high end cut at 1k after the toms are played. This will allow you to stay away from the dreaded noise gate.
I know this may sound confusing so check out this video where I take you through all of these steps.
Download Your Ultimate Home Studio Mix Guide!
This guide will help take your mixes to the next level with your go to starting points for EQ and compression for all of your tracks. Just enter your name and e-mail and your guide will be e-mailed to you!


